
In this lesson we’ll be using the editor from Open Roberta. Be careful to ensure that the following image is visible at the top right of your programming environment. You can find the editor on our website. Just click on ‘Let’s Start’ and then ‘Editor’.
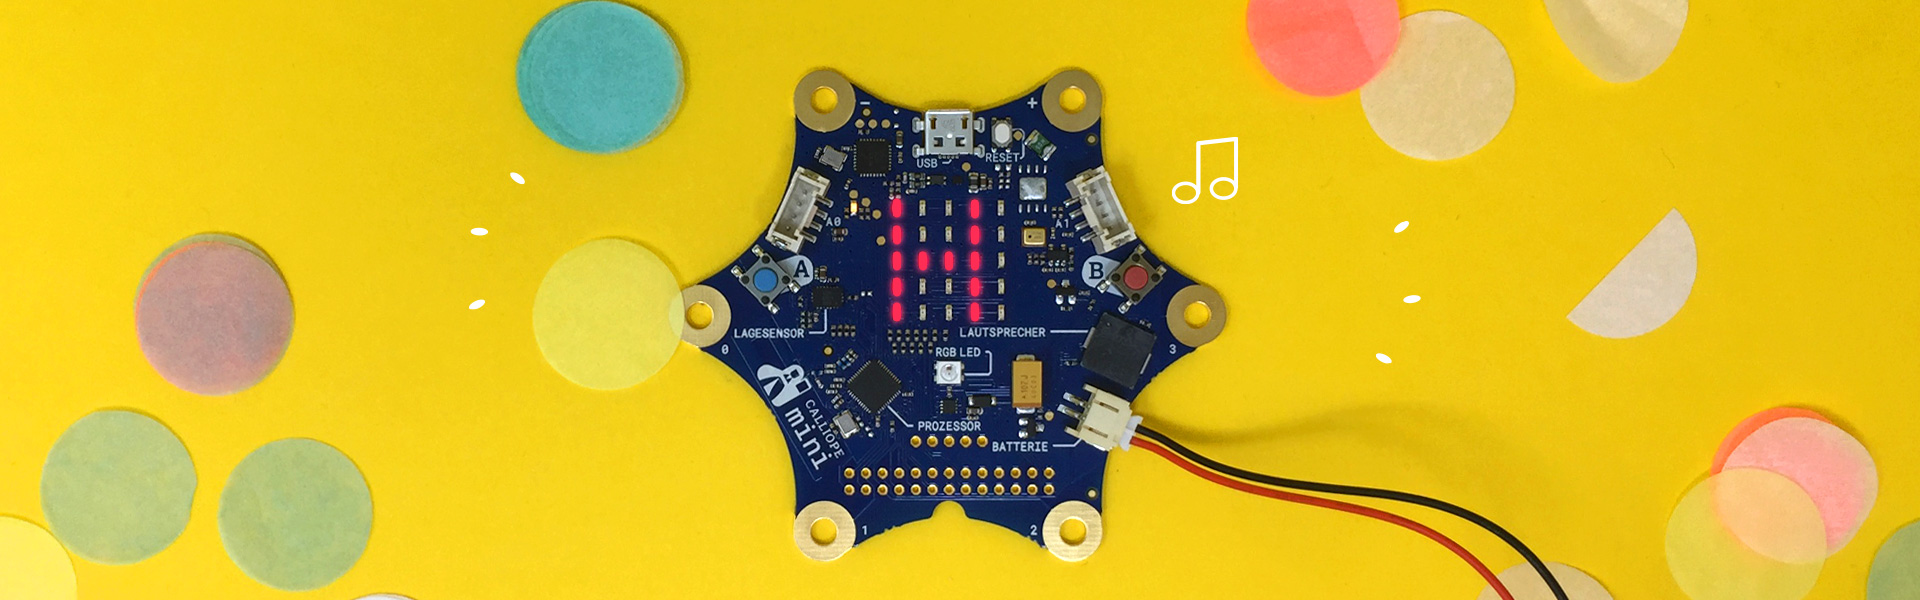
As well as the red LED matrix, which we looked at in the first lesson, the Calliope mini also has a built-in loudspeaker that allows you to play different tones and an LED with which you can display a huge variety of different colours.
The large LED under the LED matrix works in exactly the same way as watercolours do. Within this LED there are three smaller LEDs: one red, one green and one blue. When you select a colour in your programming environment, the Calliope mini will automatically display this colour by mixing the three base colours together,

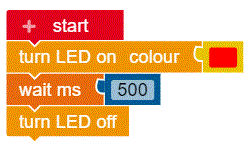
The Turn LED on colour block can be found in the Action menu. With this block you can change the colour you want to display. Simply click on the red square and choose another colour.
To turn the LED off, use the Turn LED off block from the Action menu. Make sure to add a pause between your on and off blocks otherwise the time the LED is lit will be so short you won’t be able to see any colour.
You can find the loudspeaker on the right-hand side of the Calliope mini close to Pin 3.
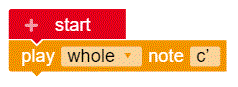
The play whole note C block can be found the Action menu. By clicking on whole, you can also change the tone’s length as well as its pitch.